What to Know Before Renting a Linux VPS
A Linux VPS sits between the ready-made environment of shared hosting and a physical server of your own: you choose the operating system, the web server and the services that run on it, while hardware maintenance, the network and the virtualization layer remain the provider's responsibility. That flexibility also makes choosing the right resources and setting the server up securely your job. Below you will find the specs to compare when choosing a plan, the first steps after setup and the most common mistakes.
Who Is a Linux VPS For?
For projects that need full control over resources and configuration but are not ready to budget for a physical server, an affordable VPS is the right starting point. Typical use cases include:
- Websites and online stores that have outgrown the PHP version, process limits or module restrictions of a shared web hosting plan
- APIs and web applications running on Node.js, Python, Go or Docker containers
- Test, staging and continuous integration (CI) environments for development teams
- Small always-on services such as a VPN, DNS, a monitoring tool, a chat bot or automation workflows
- Developers and students who want to learn Linux system administration on a real server
Which Specs Should You Compare?
When comparing plans, look beyond the price and check which resource your workload consumes the most:
- CPU (vCPU): Determines how many requests can be processed at the same time. One or two cores are usually enough for a single WordPress site; add cores for builds, image/video processing or heavy API traffic.
- RAM: The database, caches and application processes share the same memory. When RAM runs out, the system starts swapping to disk and response times grow noticeably; consider 2 GB a reasonable minimum for a site that uses MySQL or MariaDB.
- Storage: NVMe drives deliver much higher read/write speeds and lower latency than SATA SSDs, and Oweb VPS plans use enterprise NVMe storage. Leave room for the operating system, log files and local backups when sizing the disk.
- Port and traffic: Plans come with a 1 Gbit port and unlimited traffic. For workloads that constantly push high bandwidth, such as large file distribution, port speed matters more than any traffic quota.
- Virtualization and panel: KVM gives every virtual server its own kernel, so Docker and different Linux distributions run without issues. From the Virtualizor panel you can use the VNC console, upload ISOs, take snapshots and install operating systems yourself.
- Location and latency: The distance between the data center and your visitors directly affects page load time. Choosing a location close to your audience and checking latency with ping and traceroute is the most reliable approach.
- Security and management scope: DDoS protection is included in the plans, but on an unmanaged VPS, operating system updates, the firewall and application security are your responsibility.
Where to Go When Your Project Outgrows a VPS
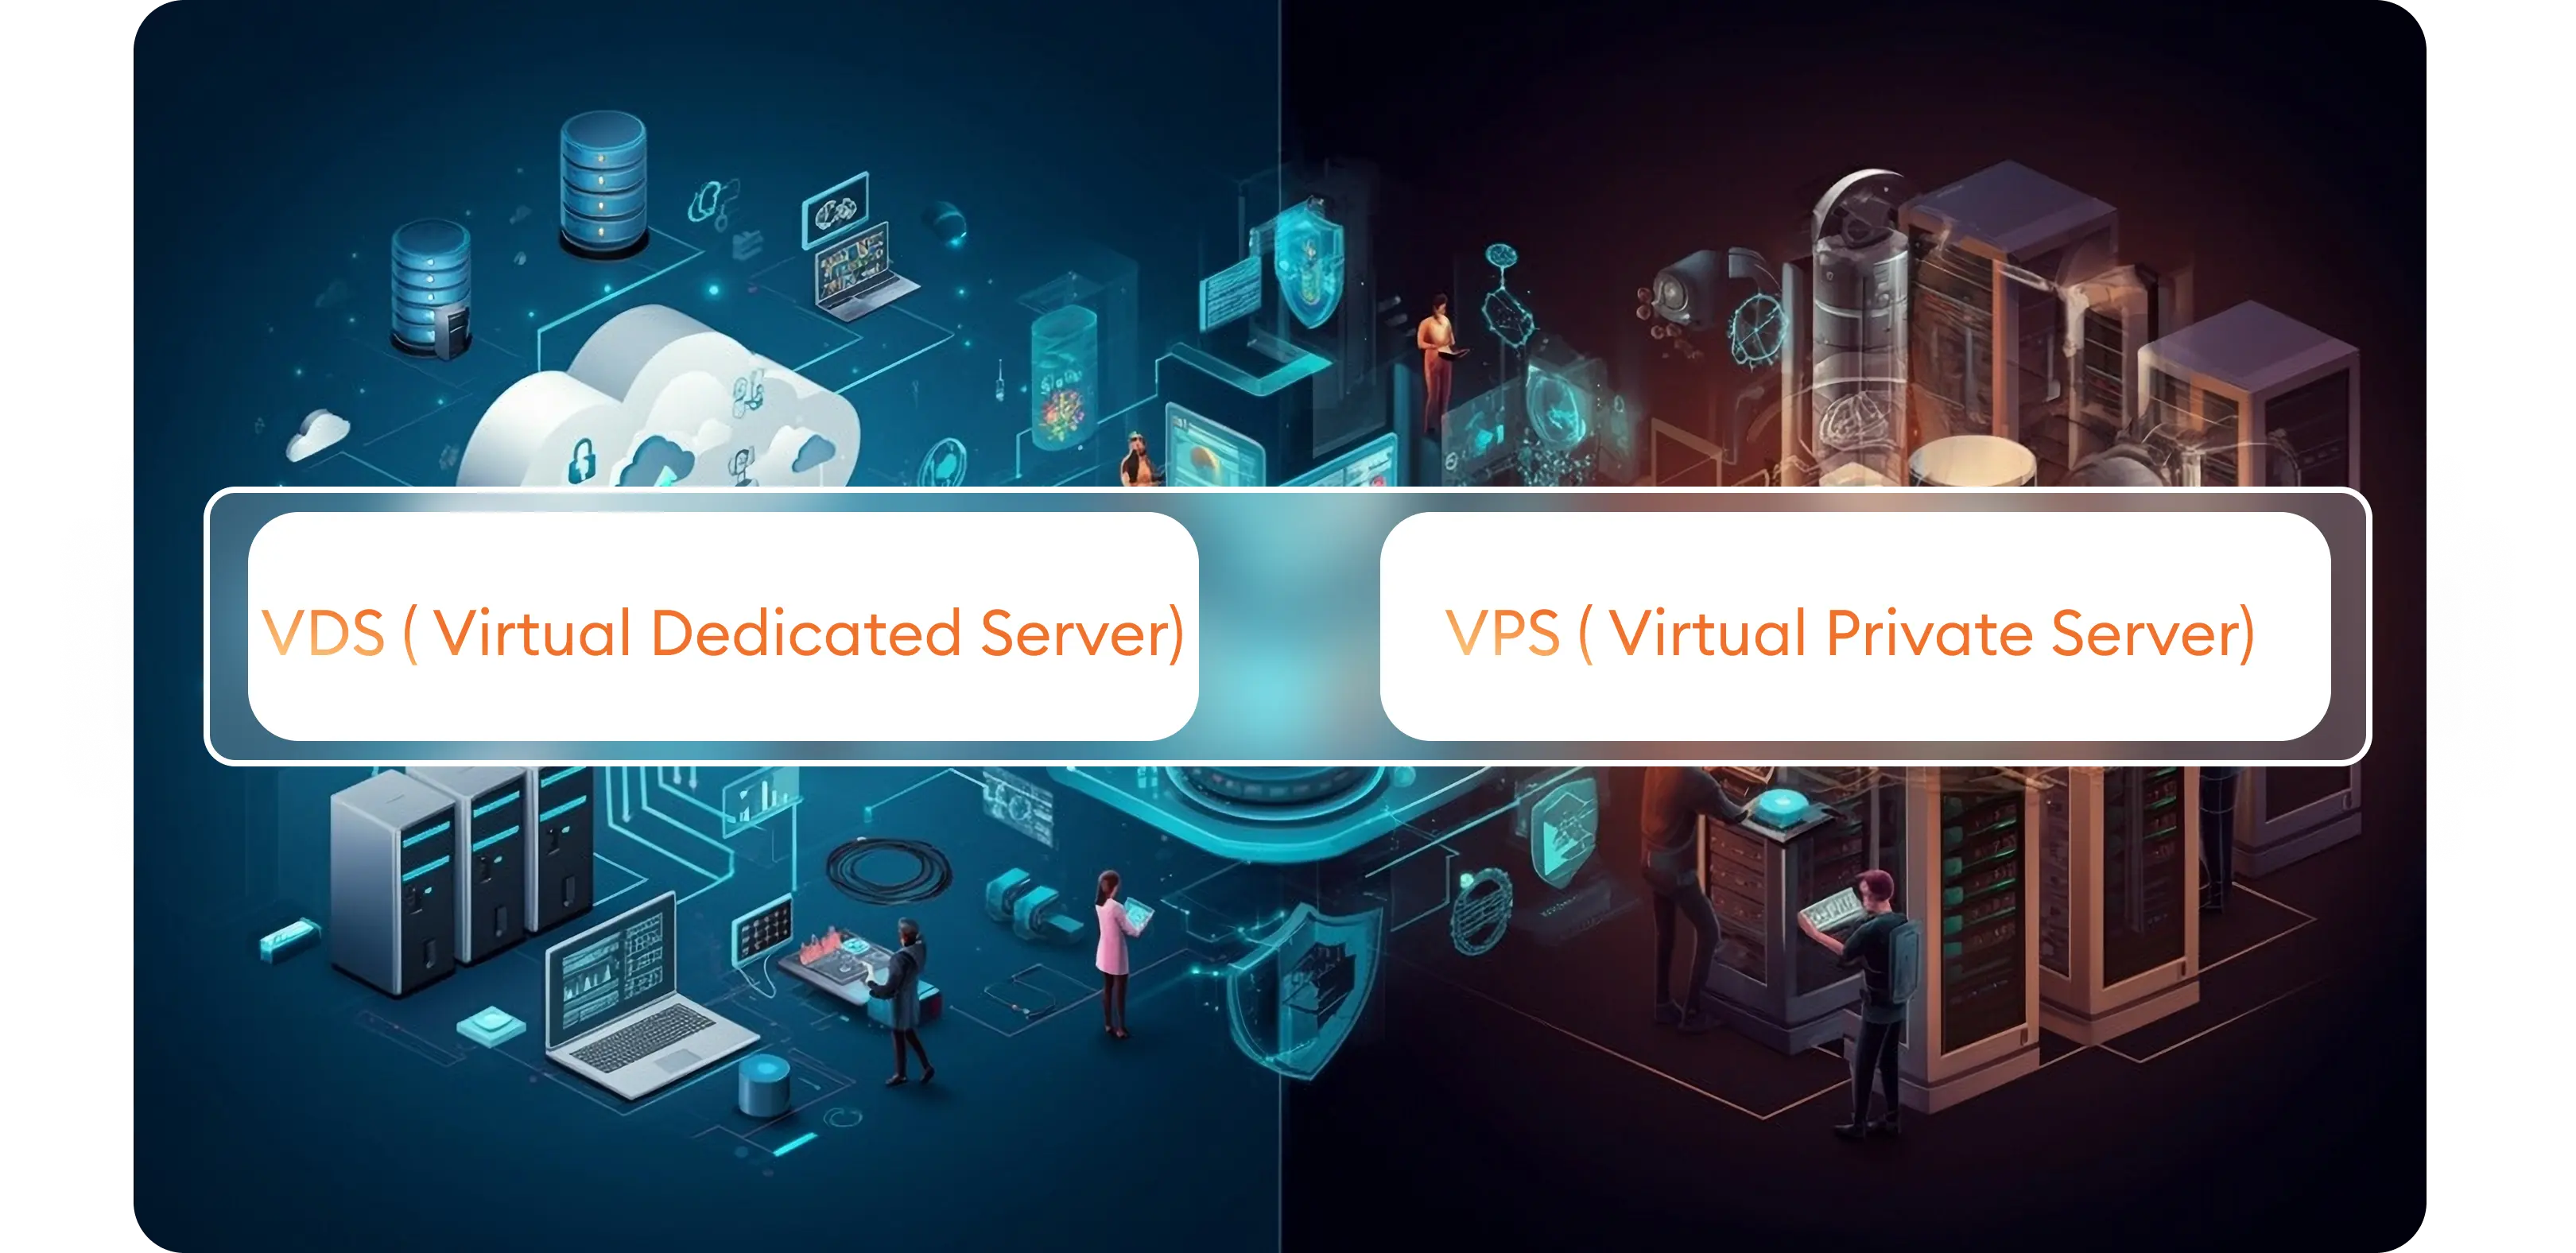
A VPS is the entry level of the server family and delivers enough performance for most websites and applications at the lowest cost. As your project grows, the usual path looks like this: if CPU usage stays high for long periods, move to a VDS with a wider resource range and Germany/USA locations; for database, analytics or virtualization workloads that need many cores and high memory bandwidth, consider virtual servers with AMD EPYC processors. If you need the entire hardware to yourself, want to build your own RAID setup or your licensing terms require a physical machine, a dedicated server is the right choice.
First Steps After Setup
Once your server is delivered, the following steps improve security and make later maintenance easier:
- Connect over SSH, switch from password login to SSH keys and create a separate sudo user for daily tasks; then disable direct root login over SSH.
- Refresh the package lists (apt or dnf) and install all pending updates; enable automatic security updates if possible.
- Use ufw or firewalld to keep only the ports you need open (e.g. 22, 80, 443), and install a tool such as Fail2ban against brute-force attempts.
- After installing the web server, application runtime and database, point your domain to the server and enable HTTPS with an SSL certificate.
- Take a snapshot in Virtualizor before critical changes, and copy regular backups to storage outside the server.
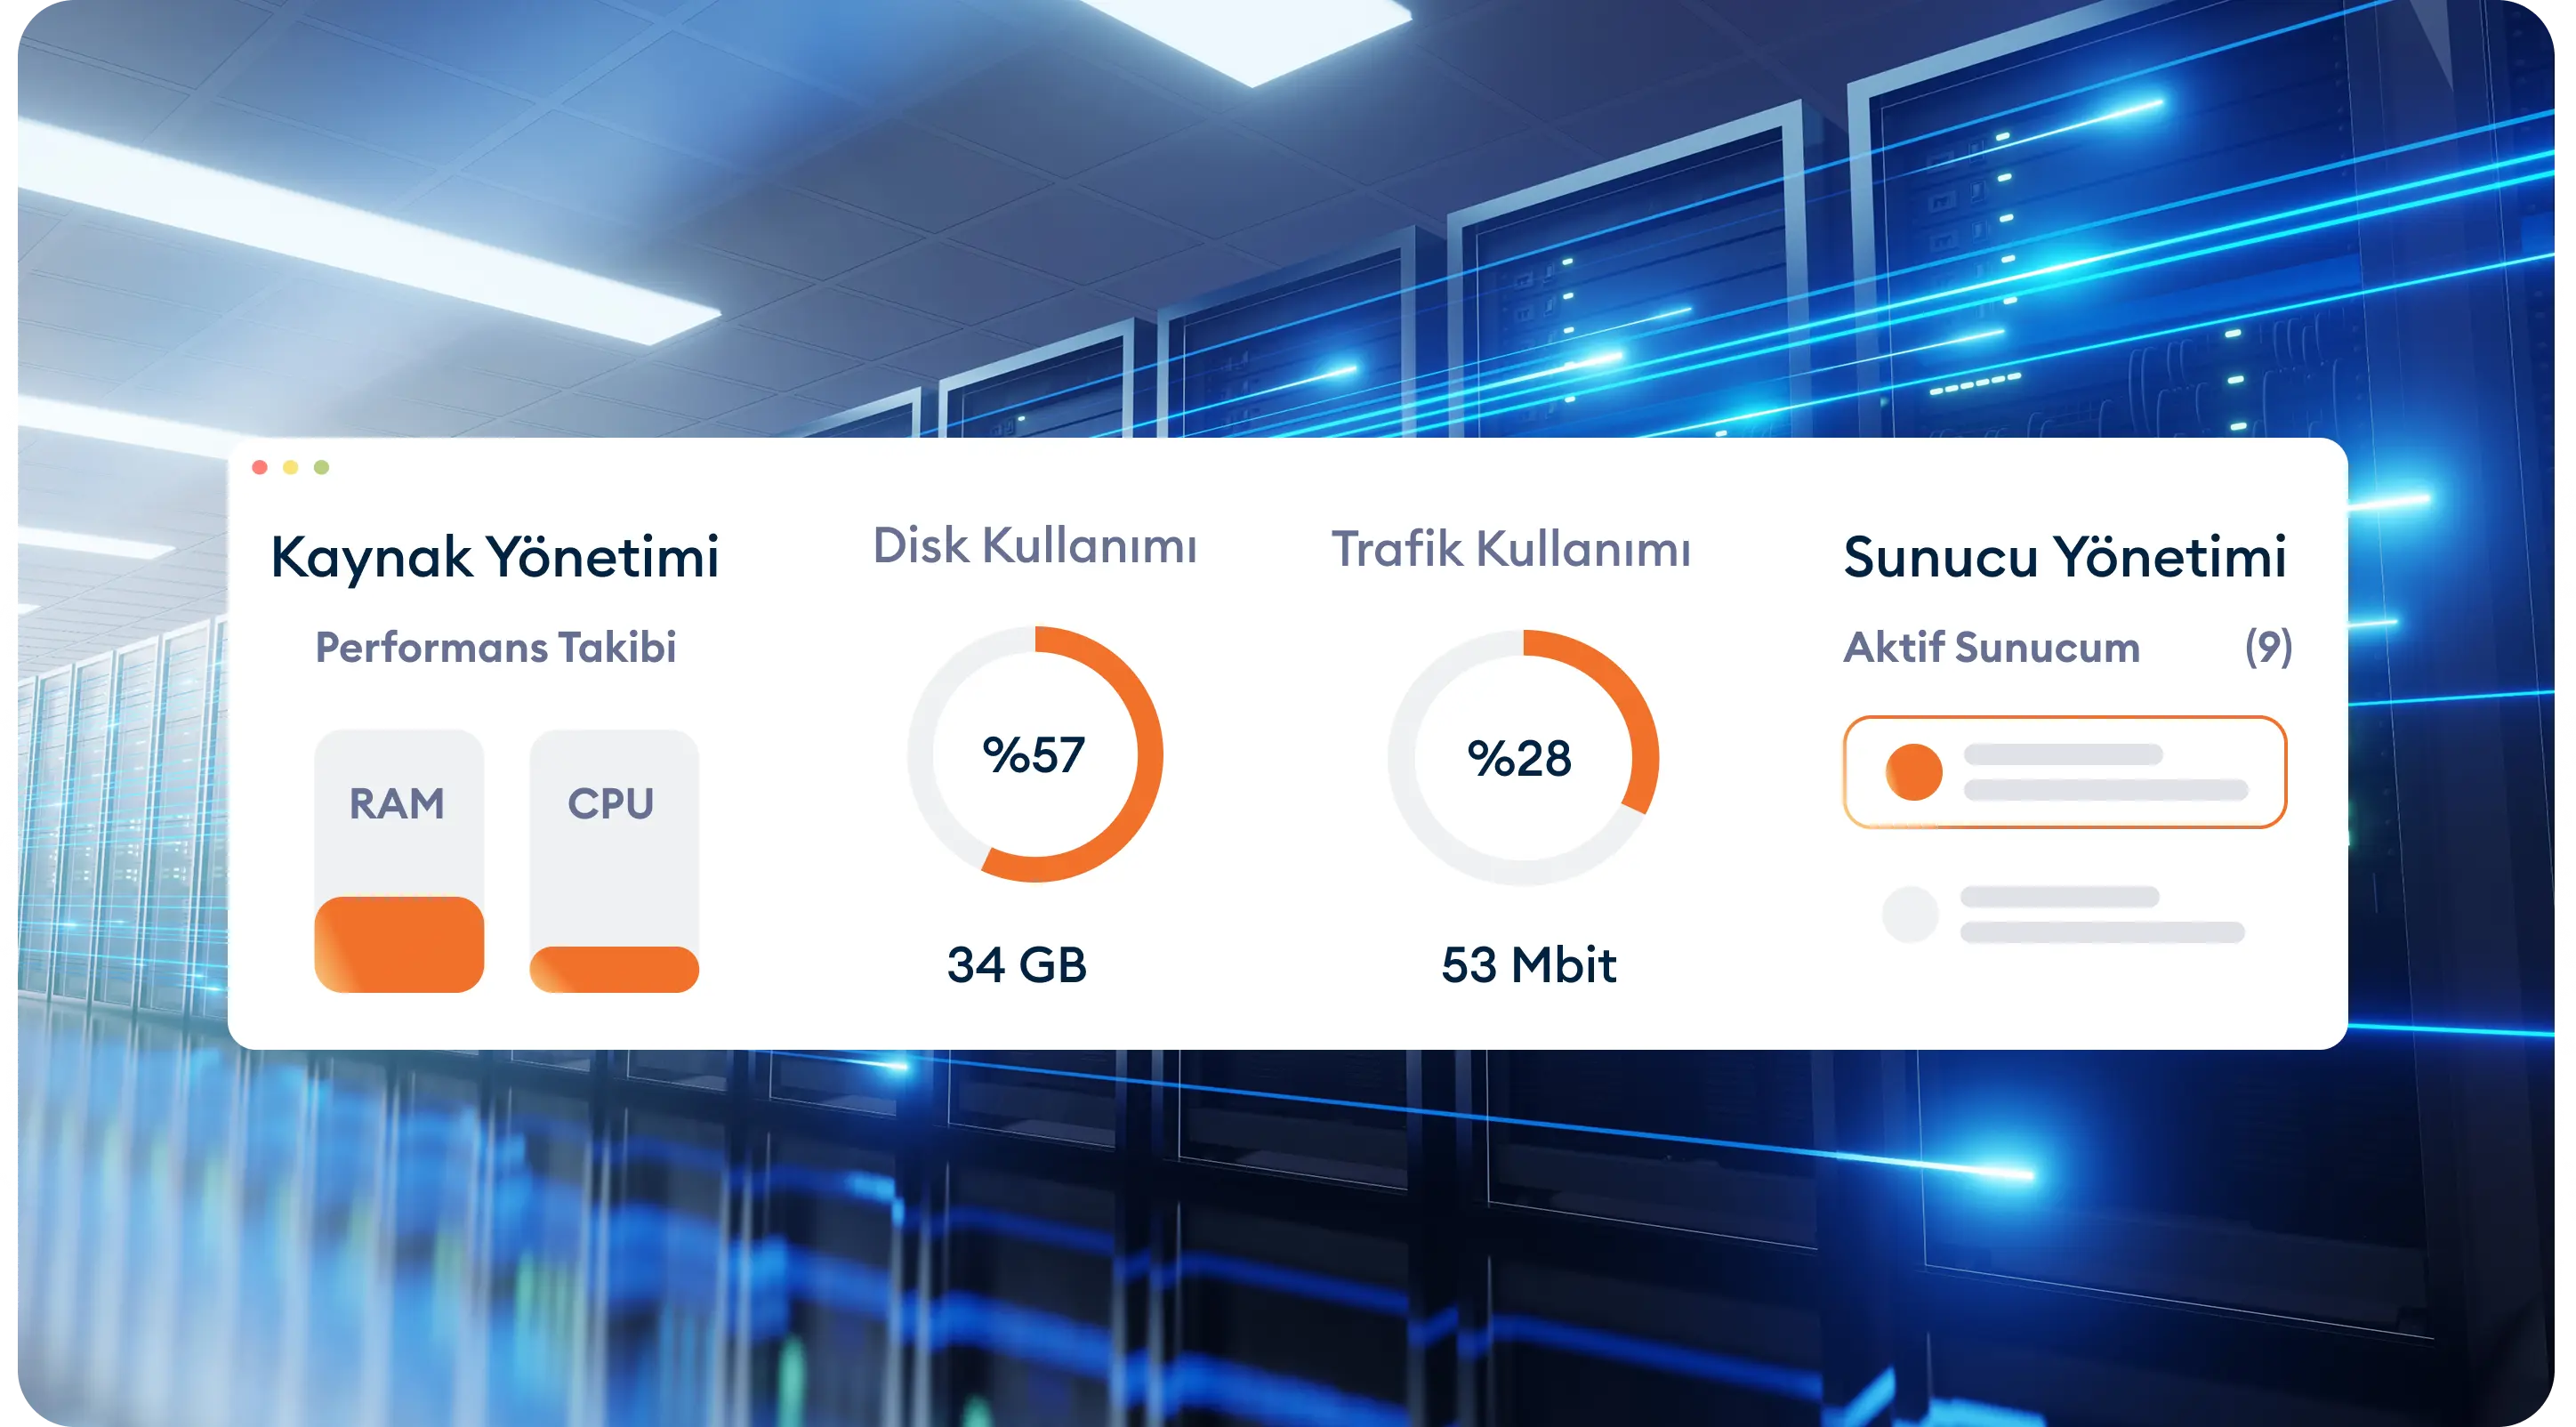
- Monitor CPU, RAM and disk usage from the panel or with tools like htop; if resources are constantly at their limit, upgrade your plan.
If you are moving from shared hosting, copy the files and database to the new server, test the site through your hosts file and then update the DNS records. Lowering the TTL a day before the switch shortens any downtime.
Common Mistakes When Running a VPS
- Treating snapshots as your only backup: snapshots are meant for quick rollbacks and are usually kept on the same infrastructure; a real backup is a copy stored in a different location.
- Leaving password-based SSH login enabled for the root user and running services with default settings.
- Choosing a plan without measuring your needs: constantly swapping on too little RAM and paying for resources you never use are both inefficient. Starting with a smaller plan and upgrading based on actual usage is usually more economical.
- Not clarifying who is responsible for management: if you would rather not handle updates, security and backups yourself, you can get a professional server management service for your existing server.
If you are unsure which plan suits your project, share the software you plan to run and your expected traffic with our team, and we can work out the right amount of resources together.